// blog
Remove a Photo's Background in Your Browser, Without Uploading It
Open the photo in the free AI Web Center image editor, choose Background and tap the person or thing to keep. An AI model, Google’s MediaPipe Interactive Segmenter, runs in your browser and finds its outline; the photo isn’t sent anywhere. If it takes too much or too little, draw over that part with Take away or Keep. Then remove the background (save as PNG or WebP to keep it see-through), fill it with a color such as white, or blur it like a phone’s portrait mode, and press Apply.
You want a product on white for a listing, a portrait without the kitchen behind it, or a photo where the background just matters less. The usual way is a background-removal website, and the first thing it asks for is your photo.
Our image editor does it on your device.
How to do it
- Open the photo in the image editor (or drop it, or paste it).
- Choose Background on the left.
- Tap the subject: the person, the pet, the thing you’re selling. Its outline appears.
- Missed a bit? Draw over it with Keep. Took too much? Choose Take away and draw over that.
- Pick what happens to the background:
- Remove makes it see-through.
- Color puts the subject on white, or any color.
- Blur keeps the scene but softens it, like a phone’s portrait mode.
- Press Apply, then save. For a see-through background, save as PNG or WebP.
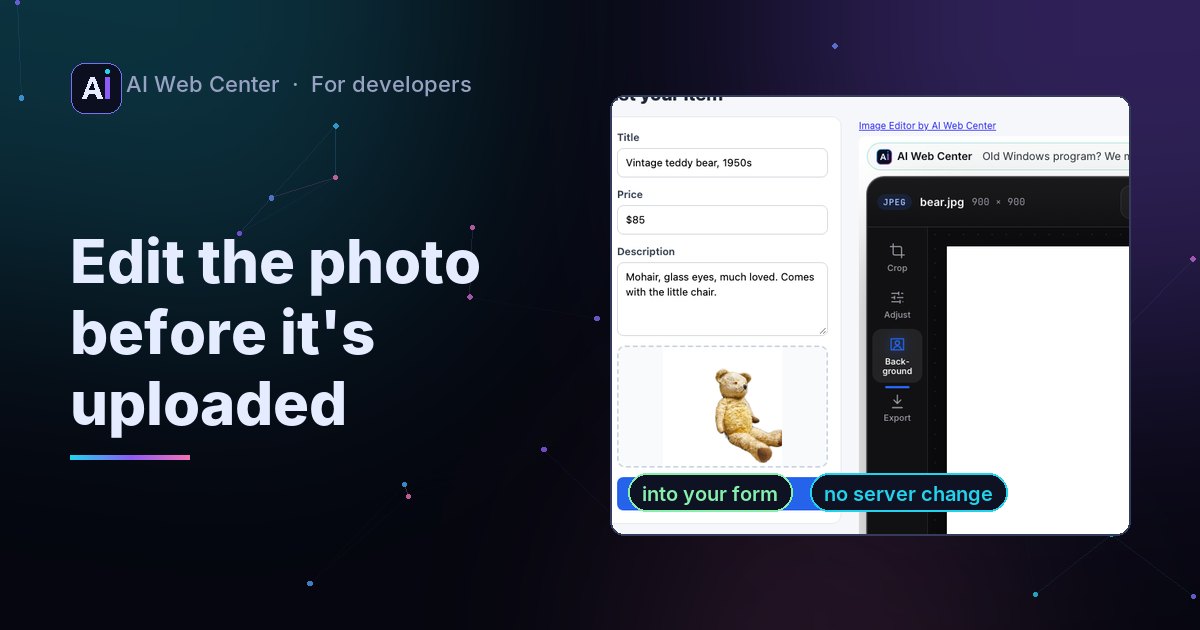
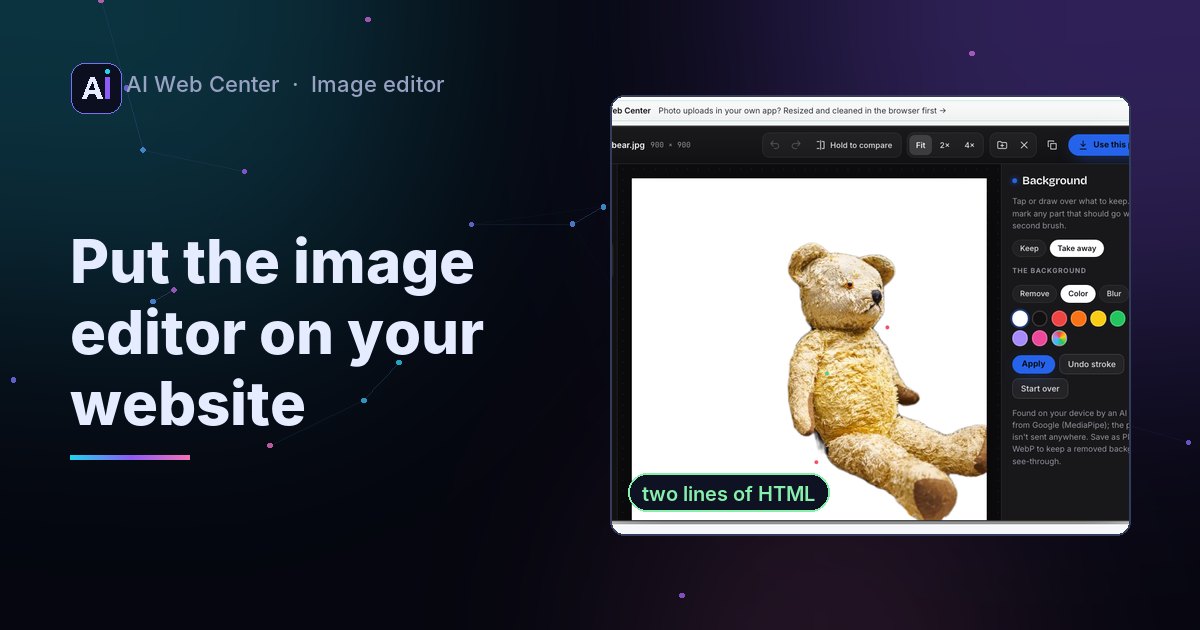
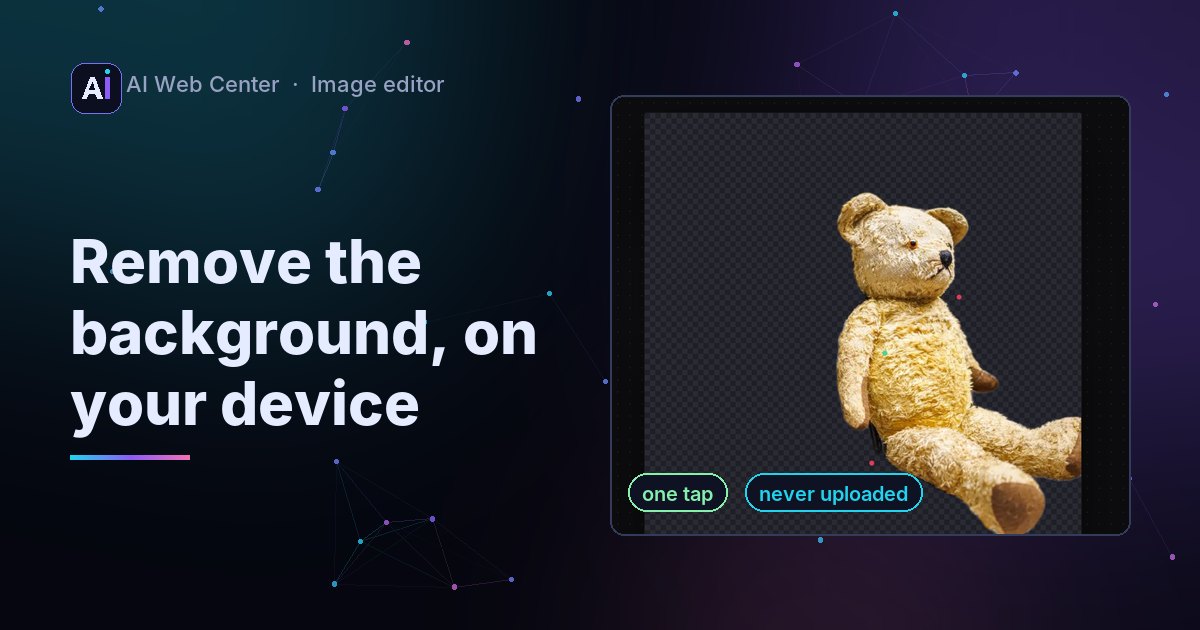
In the card above, one tap on the bear found the bear and part of the chair behind it; two taps with Take away on the chair’s back finished it.
Where the AI runs
The outline comes from an AI model made for exactly this: Google’s MediaPipe Interactive Segmenter, released under the Apache 2.0 license. Most tools run a model like this on their server, which is why they need your photo. This one runs in your browser, on your own device.
- The first time you open the tool, the model (about 30 MB) downloads from our site. Your browser usually keeps it.
- Your photo is read once to find what’s in it. Each tap or stroke after that only asks “which part do you mean?”, which is quick.
- Nothing about your photo is sent anywhere. The editor counts that the Background tool was used, and that’s all.
Why the blur doesn’t glow
A simple background blur blurs the whole photo and then puts the sharp subject back on top. The subject’s own colors get smeared into the background, so a light halo appears around the edge. The editor blurs only the background: each pixel counts as much as it is background, so the subject’s colors stay out of it.
On your own website
The same tool works inside other websites, with two lines of HTML. For a marketplace or a shop, it means sellers can put their product on white before the photo even reaches your form: the image editor on your website.
Key takeaways
- Tap the subject; fix misses with Keep and Take away.
- Remove, put on a color, or blur, then Apply.
- The AI model runs in your browser: the photo is never uploaded.
- Save as PNG or WebP to keep a removed background see-through.
Frequently asked questions
Is my photo uploaded to an AI service?
No. The model downloads from our site to your browser and runs there, on your device. The photo is never sent anywhere.
Why does it take a moment the first time?
The model is about 30 MB. It downloads the first time you open the Background tool, and your browser usually keeps it for next time. After that, each tap takes a moment on your own computer or phone.
What does it work on?
People, pets and objects that stand apart from what's behind them: a product on a table, a portrait, a car. It's weaker on very small subjects, thin details such as hair against a busy background, and things the same color as their surroundings. Take away and Keep fix most misses.
How do I keep the background see-through?
Choose Remove, press Apply, and save as PNG or WebP. JPEG has no transparency, so a JPEG gets a solid background color instead.